
Making your own skincare is much easier when you understand what each ingredient is doing in the pot. A lovely oil or butter is a good starting point, but what gives your balm its firmness, keeps your cream together or protects a water-based product from microbial growth? These are the skincare formulation essentials that help you make sense of a recipe and choose your ingredients with a bit more confidence.
I’ve brought my guides together here so you can find what you need, from equipment and emulsifiers to preservatives, butters, waxes and actives. I’ll explain where each fits in, then point you towards the individual articles when you want more detail.
You don’t need to buy everything before you begin. Start with what you want to make. A simple balm has very different needs from a cream or lotion, and understanding that can save you a cupboard full of ingredients you never use. Whether you’re including cannabis or keeping things botanical in other ways, the same formulation basics apply.
Table of Contents
Equipment for Making Skincare
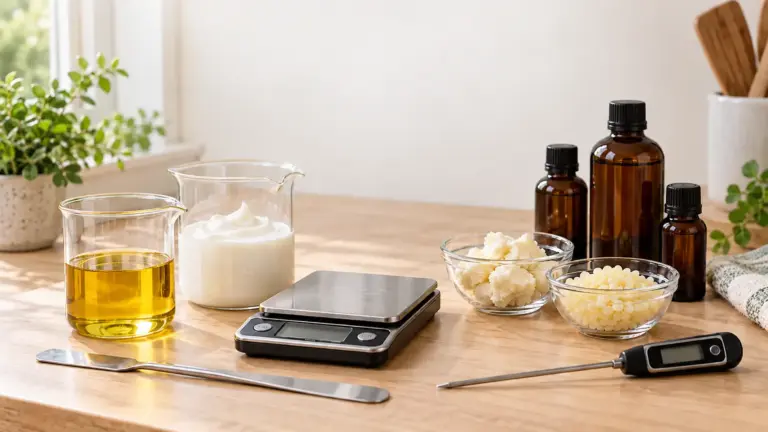
Before buying ingredients, it’s worth making sure you have the equipment to work with them. You don’t need to turn your kitchen into a laboratory, but accurate scales, suitable heatproof containers and a thermometer will make the job much easier.
I recommend weighing ingredients in grams rather than relying on spoonfuls or drops. Choose scales that can accurately measure the smallest amount in your recipe. A set that works perfectly well for weighing flour may not be suitable for a small quantity of preservative.
What else you need depends on what you’re making. A balm needs equipment for melting and stirring, while a cream or lotion may need more thorough mixing and a suitable way to measure pH.
My tools and equipment guide explains what to look for and will help you decide what you actually need.
Butters and Waxes
Butters and waxes have a useful place in many skincare formulations, but you don’t need to include them in everything you make. I choose them according to the texture and skin feel I want, rather than adding them just because they sound nourishing.
Butters contribute richness and body. They can soften as you massage a product into the skin, but they don’t all behave alike. Your choice of butter and how much you use will affect both the consistency in the jar and how the finished product feels.
Waxes are particularly useful when you want to give a balm or stick more firmness. The amount matters: you want enough structure to hold the product together, while still allowing it to spread comfortably. More wax isn’t automatically better.
You can use butters and waxes together, use one without the other, or leave both out. A liquid facial oil may need neither, while a solid massage bar may depend on them for its shape and feel.
You’ll find more about the individual ingredients and how to use them in my butters and waxes articles.
Emulsifiers for Creams and Lotions
If you’re making a cream or lotion with oil and water, you need an emulsifier to help keep them mixed. Stirring alone won’t do it. The mixture may look promising at first, but without a suitable emulsifying system, you’re likely to end up with separate layers.
Emulsifiers have oil-loving and water-loving parts. They gather around the tiny droplets created during mixing and help stop them joining back together. They also contribute to how the finished product feels, so choosing one is about more than simply keeping your cream in one piece.
A light facial lotion and a rich body cream need different textures, and the emulsifier must work with the oils and other ingredients in the formula. Adding cannabis-infused oil doesn’t mean you need a special emulsifier. It counts as part of your total oil phase.
My guide to cosmetic emulsifiers that work with cannabis explains the differences between the five I use and recommend, with practical advice on choosing and working with them.
Preservatives for Water-Based Skincare
If you’re making a cream, lotion or other water-based product to keep and use, preservation is part of the formula. That includes water introduced through hydrosols, aloe juice and herbal infusions. These ingredients may sound more appealing than plain water, but they don’t remove the need for protection against bacteria, yeast and mould.
The FDA’s guidance on microbiological safety in cosmetics explains how contamination can come from ingredients, equipment, packaging and everyday use. Choosing a suitable preservative is part of that protection, alongside clean working practices.
I choose a preservative according to whether it will work in the product I’m making. Its recommended amount, working pH and compatibility with the other ingredients all matter. “Natural” on the label doesn’t answer those questions, and I’m happy to make a practical compromise when it means a properly preserved product.
Vitamin E often gets mistaken for a preservative. It helps slow the oxidation of oils, but it won’t protect a water-based cream against microbial growth. It has a useful job of its own.
My practical guide to natural preservatives in cosmetics looks at four preservative systems, the differences between them and what to check before choosing one for your formula.
Actives in Skincare
Actives are ingredients we choose for a particular benefit, such as helping skin retain moisture or improving how it feels. The name can make them sound rather fancy, but familiar ingredients such as glycerin belong in this conversation too.
I start by asking what I want the product to do. It’s tempting to add a bit of everything when you read the ingredient descriptions, but each addition needs a reason to be there. A well-chosen combination makes more sense than a long ingredient list put together on enthusiasm alone.
You also need to know which phase an active belongs in. Many are heat-sensitive and must go into the cool-down phase, below the temperature specified by the supplier. You can’t simply make a finished cream and then bung in all the actives you fancy. Allow for them when you calculate the formula, including any water or other carrier they come supplied in. How much you can add successfully depends on the emulsifying system and the complete formula, so there isn’t one fixed ratio that works for every cream.
Many actives are naturally acidic, so adding them can lower the pH and potentially destabilise an emulsion. Check that your chosen actives, emulsifier and preservative can all work within the same finished pH range. Each active might be within its own recommended use level, but that doesn’t guarantee they will work together. The whole formula needs to balance, and its stability needs checking.
My actives articles explore ingredients including glycerin, panthenol, urea and PhytoSpherix®, with more detail to help you decide where they might fit into your skincare.
Solubilisers and How They Work
If you’ve ever added essential oil to water, you’ll have seen it floating on the surface. Shaking breaks it into droplets for a while, but it doesn’t make it dissolve. A solubiliser helps incorporate small amounts of oil, such as fragrance or essential oils, into a mainly water-based product.
This is useful for products such as facial mists and toners, where you don’t want a layer of oil sitting on top. Although solubilisers and emulsifiers do related jobs, you can’t assume they are interchangeable. A solubiliser chosen for a little essential oil in a toner won’t necessarily handle the amount of oil you would use in a cream.
The proportions need some thought here too. There isn’t one solubiliser-to-oil ratio that works for every blend. The type and amount of oil, the solubiliser and the rest of the formula all affect the result. Start with the supplier’s instructions and test your actual combination rather than assuming a clear mixture will stay that way.
A solubiliser doesn’t replace a preservative, either. Your water-based product still needs suitable preservation, and both ingredients must work with the finished formula and its pH.
Putting Skincare Formulation Essentials into Practice
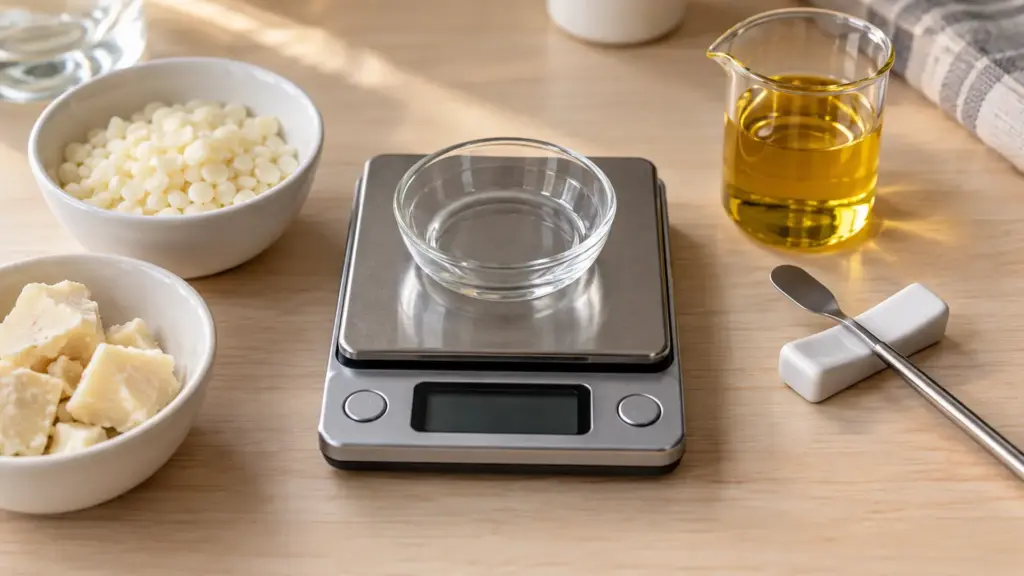
Before you start weighing anything, read the complete formula and method. Sort out which ingredients go into the oil phase, water phase and cool-down phase, and check the temperatures and finished pH you’re working towards. Finding that out halfway through making a cream is an unnecessary headache.
Work in percentages, with the complete formula adding up to 100%, then calculate the weights for your batch size. An active added at 2% needs to be accounted for within that total. It isn’t an extra spoonful on top of a finished recipe.
For your first batch, follow the formula as written. If you later want to change it, make one considered change at a time and record exactly what you did. Swapping the oil, emulsifier and three actives together makes it difficult to work out why the result is different.
Keep notes on your ingredients, weights, temperatures, mixing method and pH where relevant. Check how the product behaves over time too. A cream looking lovely when you first put it in the jar is only the beginning.
If you’re ready to choose a recipe, my DIY Cannabis Products guide will point you towards balms, creams, lotions and other products you can make using these ingredients and techniques.
Conclusion
I enjoy experimenting with ingredients, but a good cream needs more than a collection of lovely things in a jar. Understanding these skincare formulation essentials helps you judge what will work together and where an addition might cause trouble.
That still leaves plenty of room to make something your own. For me, knowing why a formula works is what makes experimenting worthwhile. Keep these guides handy and refer back to the relevant one when you need it.
🎧 Listen Instead
 Spotify
 YouTube
FAQ
What equipment do I need to make skincare at home?
Start with accurate digital scales, suitable heatproof containers, a thermometer and utensils for stirring and transferring your product. A simple balm needs equipment for melting and mixing. For creams and lotions, you may also need a suitable mixer and equipment to measure pH. Read the complete recipe first, and make sure your scales can accurately weigh its smallest ingredient amount.
What is the difference between an emulsifier and a preservative?
An emulsifier helps keep oil and water mixed together in a cream or lotion. A preservative protects the product against microbial growth, including bacteria, yeast and mould. They do different jobs, and an ordinary water-containing cream needs both. Neither can replace the other.
Do homemade skincare products need preservatives?
Water-based skincare made to keep and use needs suitable preservation. That includes creams, lotions and products containing hydrosols, aloe juice or herbal infusions. Completely oil-based balms and facial oils do not usually need a broad-spectrum preservative, provided water stays out during use. Vitamin E can slow the oxidation of oils, but it does not replace a preservative.
Can I add active ingredients to a ready-made cream?
I wouldn’t assume a ready-made cream can accommodate extra ingredients. Adding actives can change its pH, texture, stability and preservative concentration. Even an ingredient within its recommended use level may not suit that particular cream. Use a cosmetic base specifically designed for additions and follow its supplier’s limits, or work from a complete formula that already allows for your chosen actives.
What is the difference between a solubiliser and an emulsifier?
A solubiliser is usually used to incorporate small amounts of oil, such as fragrance or essential oils, into a mainly water-based product. An emulsifier is used to keep the oil and water phases together in products such as creams and lotions. Their functions overlap, but they are not automatically interchangeable. Choose according to the type and amount of oil, the finished product and the supplier’s instructions.
How do I calculate skincare ingredient percentages?
Divide an ingredient’s weight by the total batch weight, then multiply by 100. If a 200 g batch contains 4 g of an ingredient, that ingredient makes up 2% of the formula. To turn a percentage into grams, multiply the batch weight by the percentage and divide by 100. All ingredients, including preservatives and actives, must be included in a formula that totals 100%.
If you liked this blog post, I would love it if you shared it with a friend.
If you use Pinterest, please pin this post.